Turquoise set in embossed sterling silver

IMG_0667 IMG_0668 IMG_0669 IMG_0670

This turquoise piece was set in sterling silver.  The fern on the back was embossed using my rolling mill and finished with a patina to bring out the details.  The bezel was purchased from cool tools and the pendant hangs on a double leather cord.  This is my personal favorite!  $135

WWW.ROSEMETALSJEWELRY.ETSY.COM

Some new pieces, finished yesterday….

IMG_0657 IMG_0658 IMG_0659

Sugar skull inspired labradorite skull set in embossed sterling silver.  I embossed the back of this piece using my rolling mill and the awesome bezel stock was purchased from cool tools!  They are a little more expensive but have some really nice bezel wires to choose from.  $165

IMG_0651 IMG_0652 IMG_0654

Another amazing piece of labradorite cut from my private collection of stones by an amazing lapidary artist that I work with in North Dakota.  I sent him a large chunk of labradorite and he sent me back some beautiful stones.  The back of this piece was also embossed using my rolling mill and a fern pattern that I have.  $145

IMG_0660 IMG_0661 IMG_0662 IMG_0663

This is another cut of my private stock.  This turned out awesome and I am super pleased with the embossing on the back.  Again, this was embossed in my rolling mill using a rose garden style pattern.  This bezel was also purchased from cool tools and this piece hangs from a detailed pewter chain.  $185

WWW.ROSEMETALSJEWELRY.ETSY.COM

Decided to start working with just sterling…no stones :o)

This was my first piece since working with just sterling silver.  Usually I am setting stones in all my work, but this time I decided it was time for some a little less flashy…not that that’s bad ;o)  This first one is my attempt at a wedding band style.  Although this is a very masculine piece I loved wearing this one for the day.

Made with 18g sterling sheet for the base of the ring and a prefabricated ring band made from Rio Grande.

Soldered these two pieces together before forming and soldering the joint.  I was very pleased with the first one.

wedding sterling band-2 wedding sterling band-3 wedding sterling band-4

Salt water etch…..for the first time…for copper

So I tried this new copper etching technique that I found posted online and I thought it worked amazingly. The best part about it…. NO MORE HAZARDOUS CHEMICALS!!!!

supplies:
plastic container
copper wire
alligator clips
rectifier or battery charger
water and salt
copper blank
patterned piece

Take a plastic container and fill ~1/4 of it with salt
Fill the container with water

I have a rectifier that applies a voltage to my alligator clips…a rectifier is also used for electroforming….but I have seen videos where people have used battery chargers. (you basically need a positive end and a negative end to attach alligator clips)

You will need an anode and a cathode
* anode is the piece you will be etching
* cathode is the piece you will hang in the water to collect all the copper ions

Hang your piece to be etched and your blank piece of copper from the side of the plastic container using copper wire.

Attach the red alligator clip to the copper wire that is hanging the anode (*piece you want the etched pattern on)

Attach the black alligator clip to the copper wire that is hanging the cathode (*piece to collect the copper ions)

plug in your clips to the rectifier and turn the voltage to 5-6 voltages.

Etching copper at this voltage takes about 1-1 1/2 hours and makes a nice clean deep etch!!! No Chemicals No Mess….and you can reuse the etch over and over!!!!

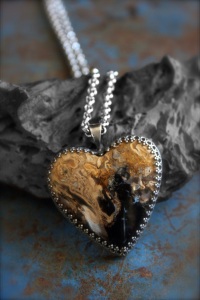
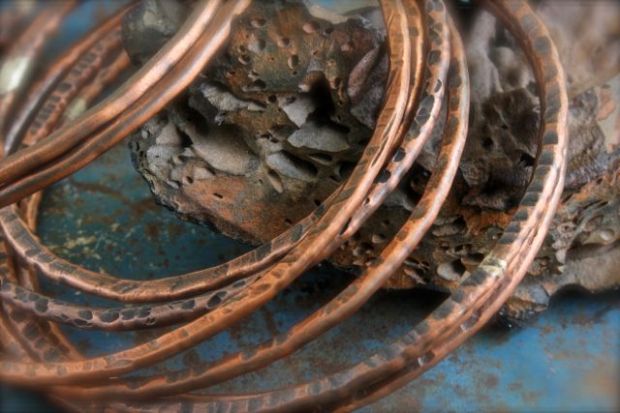
email with questions!!!! Check out my first pictures :o) Happy Etching!!