Uncategorized

Subscribe to Newsletter

Hello followers, did you know that if you subscribe to my newsletter on my website you will receive emails on the regular describing my process? You will also be notified of new products and you will be the first to know giving you first chance to shop. OH! You will also get a 15% discount on your first order. Not to mention I have sales through out the year sent only to subscribers….Just sayin’

www.rosemetalsjewelry.com Sign up in the pop up!

Sand Casting a Tarot Card Silver Pressing

So, I have this really nice tarot card die called “The Lover”. I press silver into the die using a hydraulic press and create a really detailed impression. I thought it might be worth trying to sand cast the finished piece to see if it would be more efficient to make copies using this method. This is what I discovered…..

In the picture you can see the original press using sheet silver. This is the finished piece that I used to press into the clay to get the impression. In the background you can see the impression in the clay. Here is a closer look at what that looks like.

The impressions are really nicely detailed, you can even see my initials from the backside. Next I will create vent holes for the hot air. This will help the silver to flow. I will then melt my scrap silver and pour it into the mold. The initial design used ~0.16oz of silver so I made sure to at least double that for melting. The extra molten metal helps push the molten metal through the cast. Let’s see how it goes…..

It flowed perfect for the first try and I was super happy with how well it filled the mold. The detail is there but unfortunately the sand casting leaves a grainy look. This normally wouldn’t be an issue if I could sand and polish the surface, but I cannot do that in this case without losing the fine detail in the design. This is a realization that not everything can be cast. Sand casting is great for basic rings and things, but let’s not leave out the possibility that I just suck at casting and I am not packing the sand enough. On to try a few other things.

Original hydraulic press on the left and the sand casting copy on the right.

http://www.rosemetalsjewelry.com

Time to pick it up and dust it off.

It has been a long time since i posted on this blog. So long that I am impressed I still had an account, but really super excited that I did. Looking back on all the things I posted was really cool. To add to that throwback, I was much younger in this picture and this was my first real studio, small but wonderful. At this time all I needed was coffee, chemicals (for etching metal), and cabochons. Makes me smile to see how far I’ve come. ❤️ At the time all I had was a folding table, an old wooden kitchen table, and low quality tools. Still a happy, simpler time for me.

Making my first bezel setting

So for some of you this might seem really basic, but I love to share new things that I have tried in hopes in giving someone else the courage to try it.  I tend to stay inside the box and not venture out too much, so this is one case where I actually did.

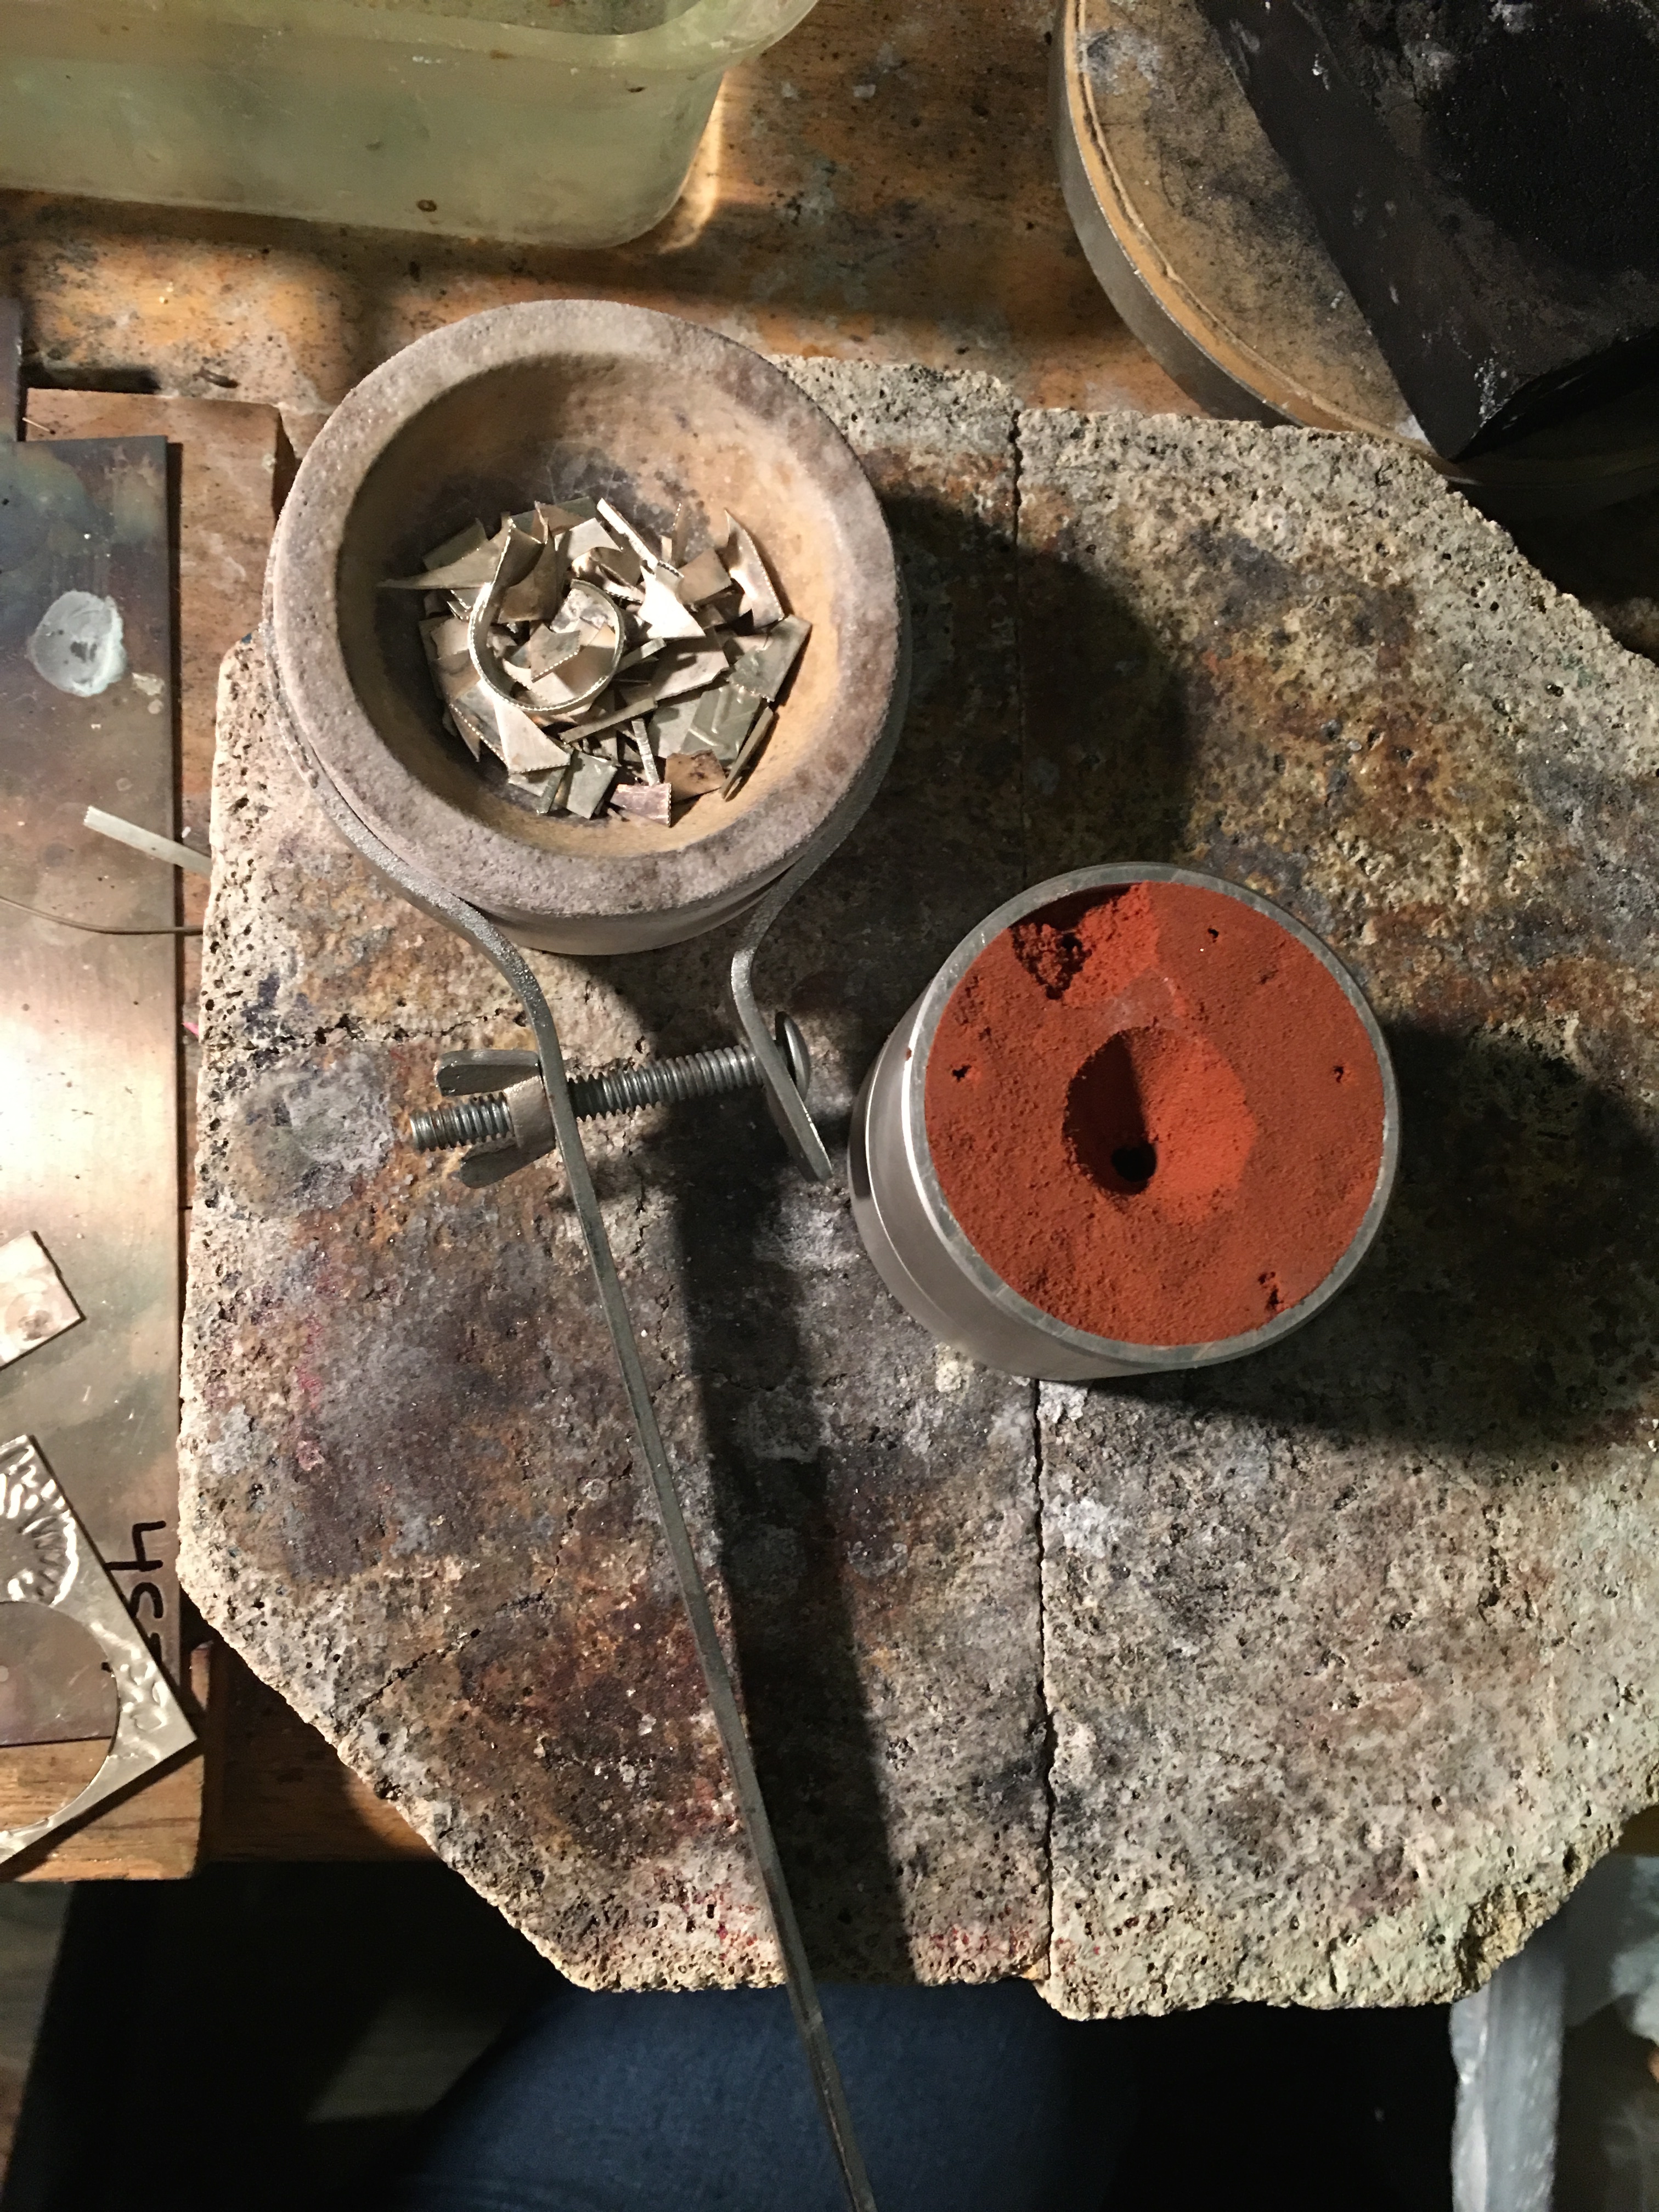
I was working in the studio creating a piece when I realized I didn’t have any more thick bezel stock wire that I just buy from Rio Grande.  I like this particular wire because it is thicker and easier to work with then the thinner gauge bezel.

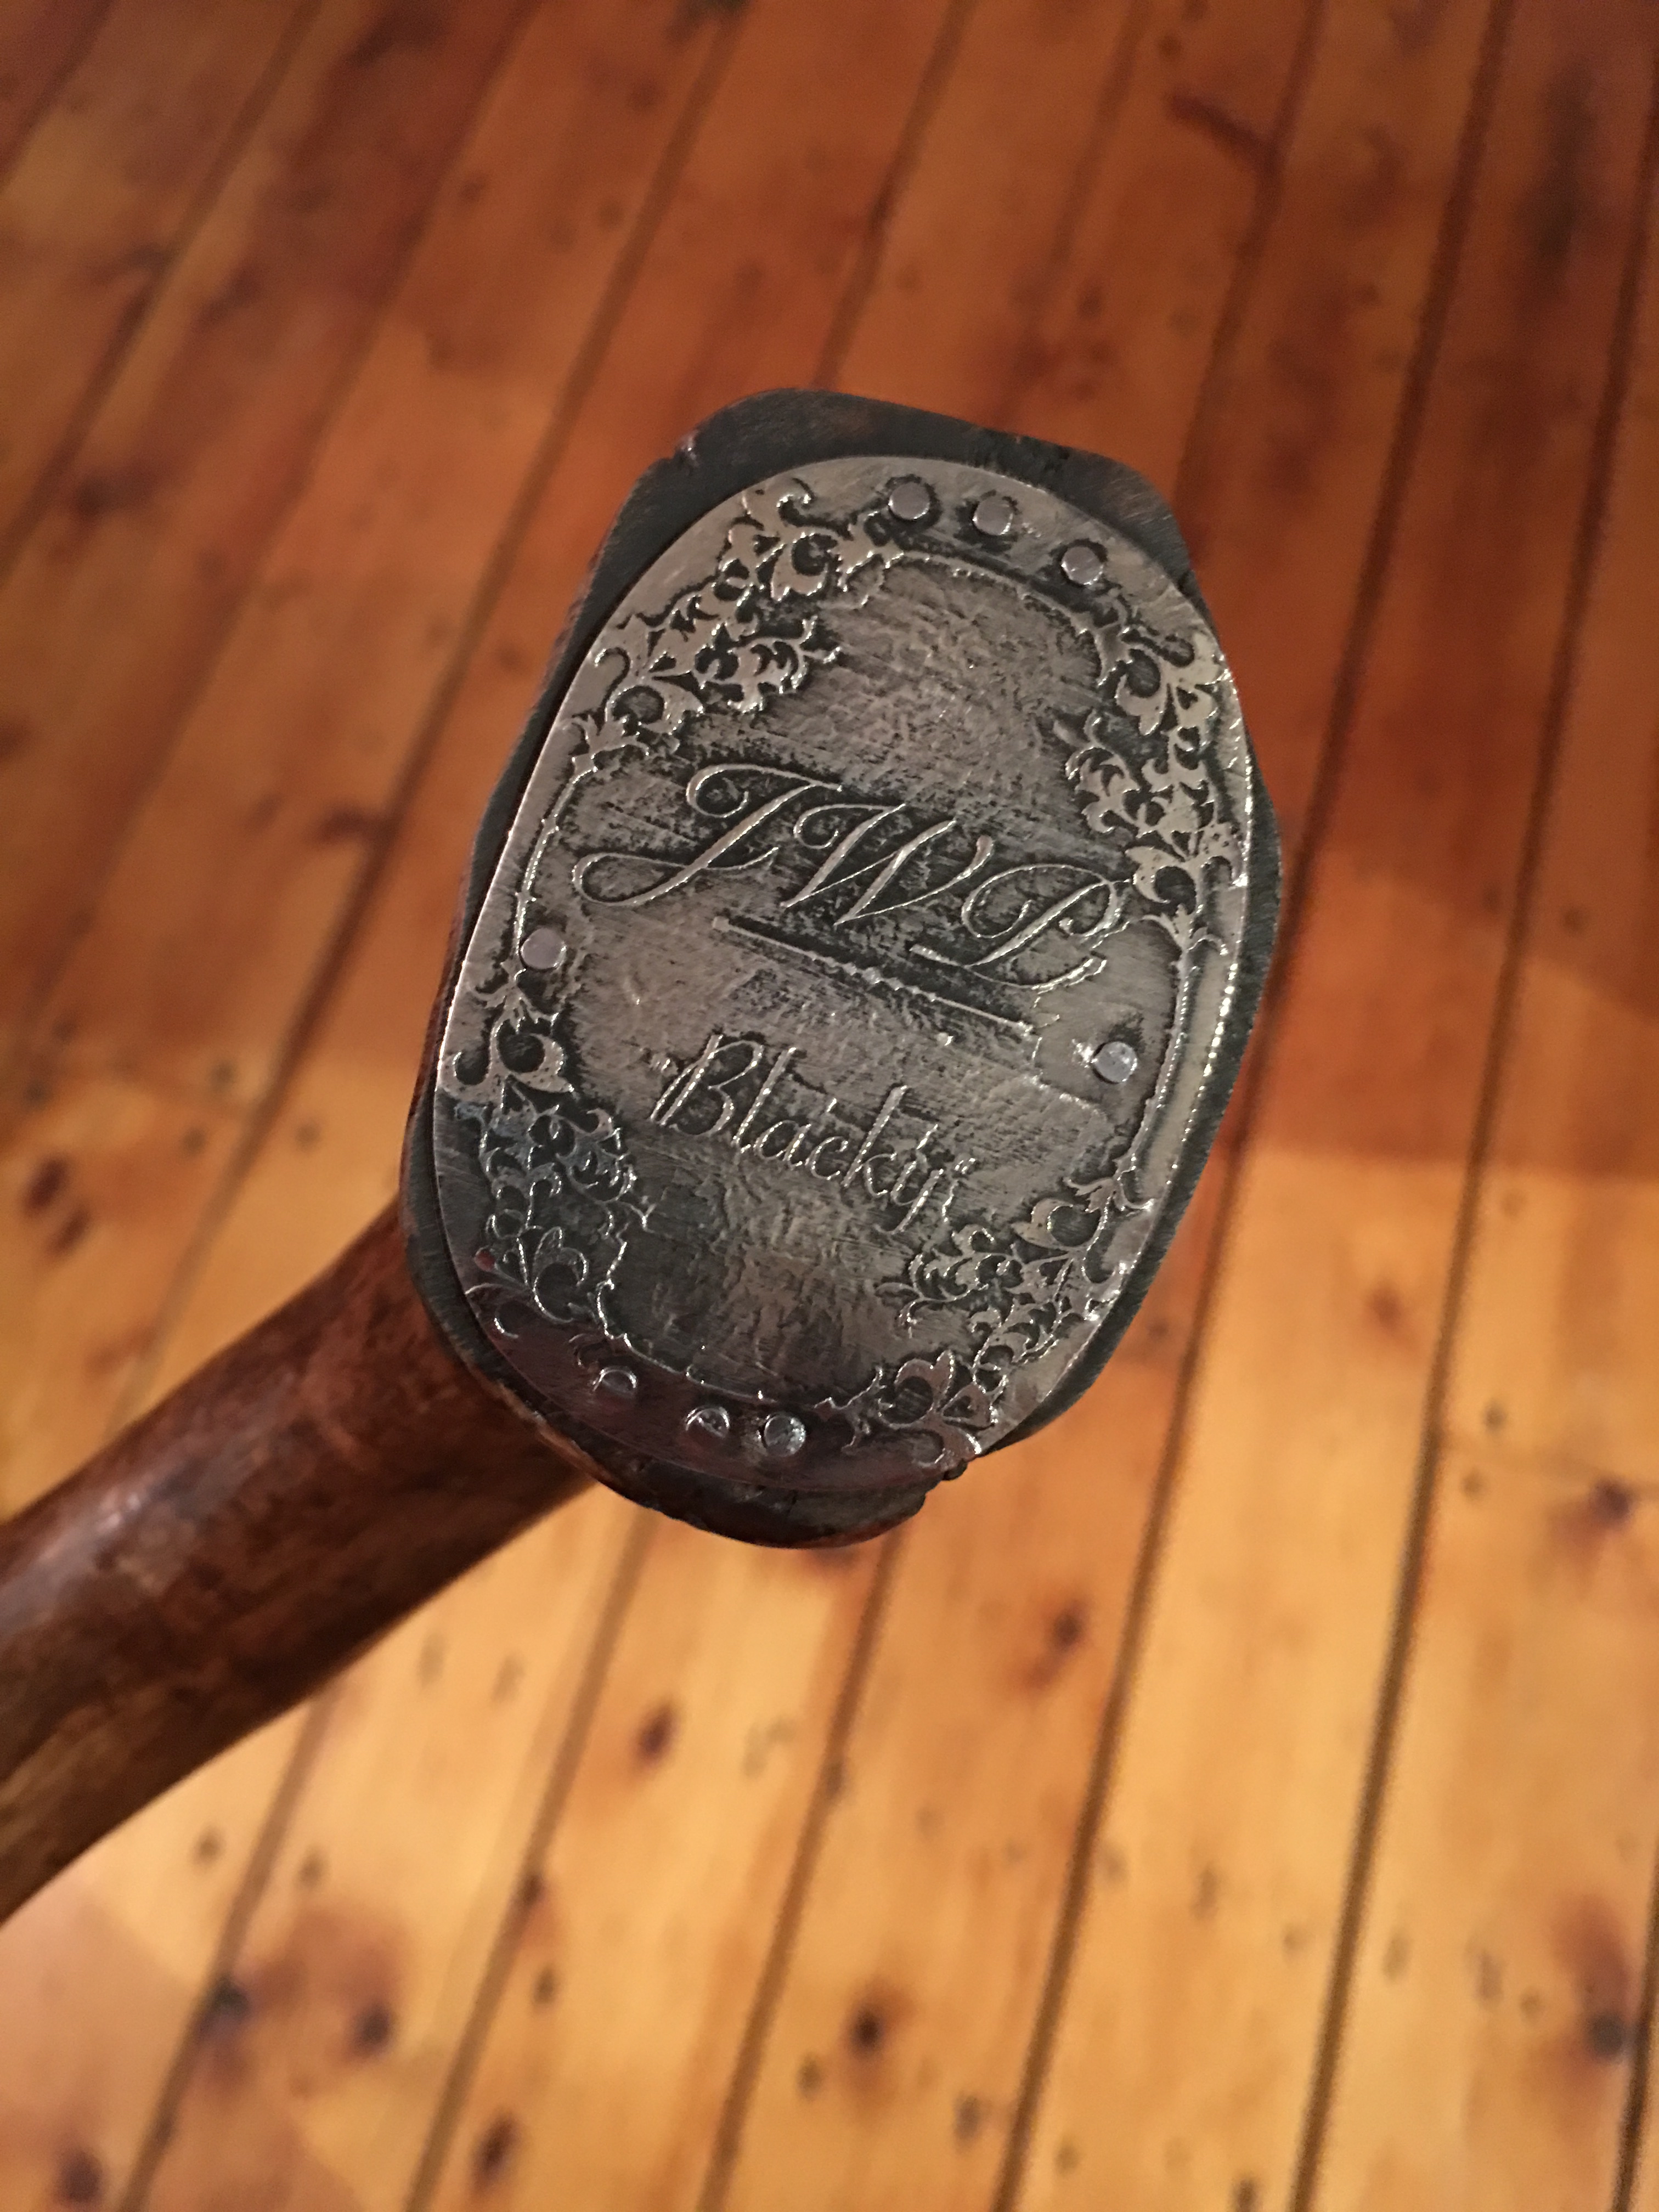
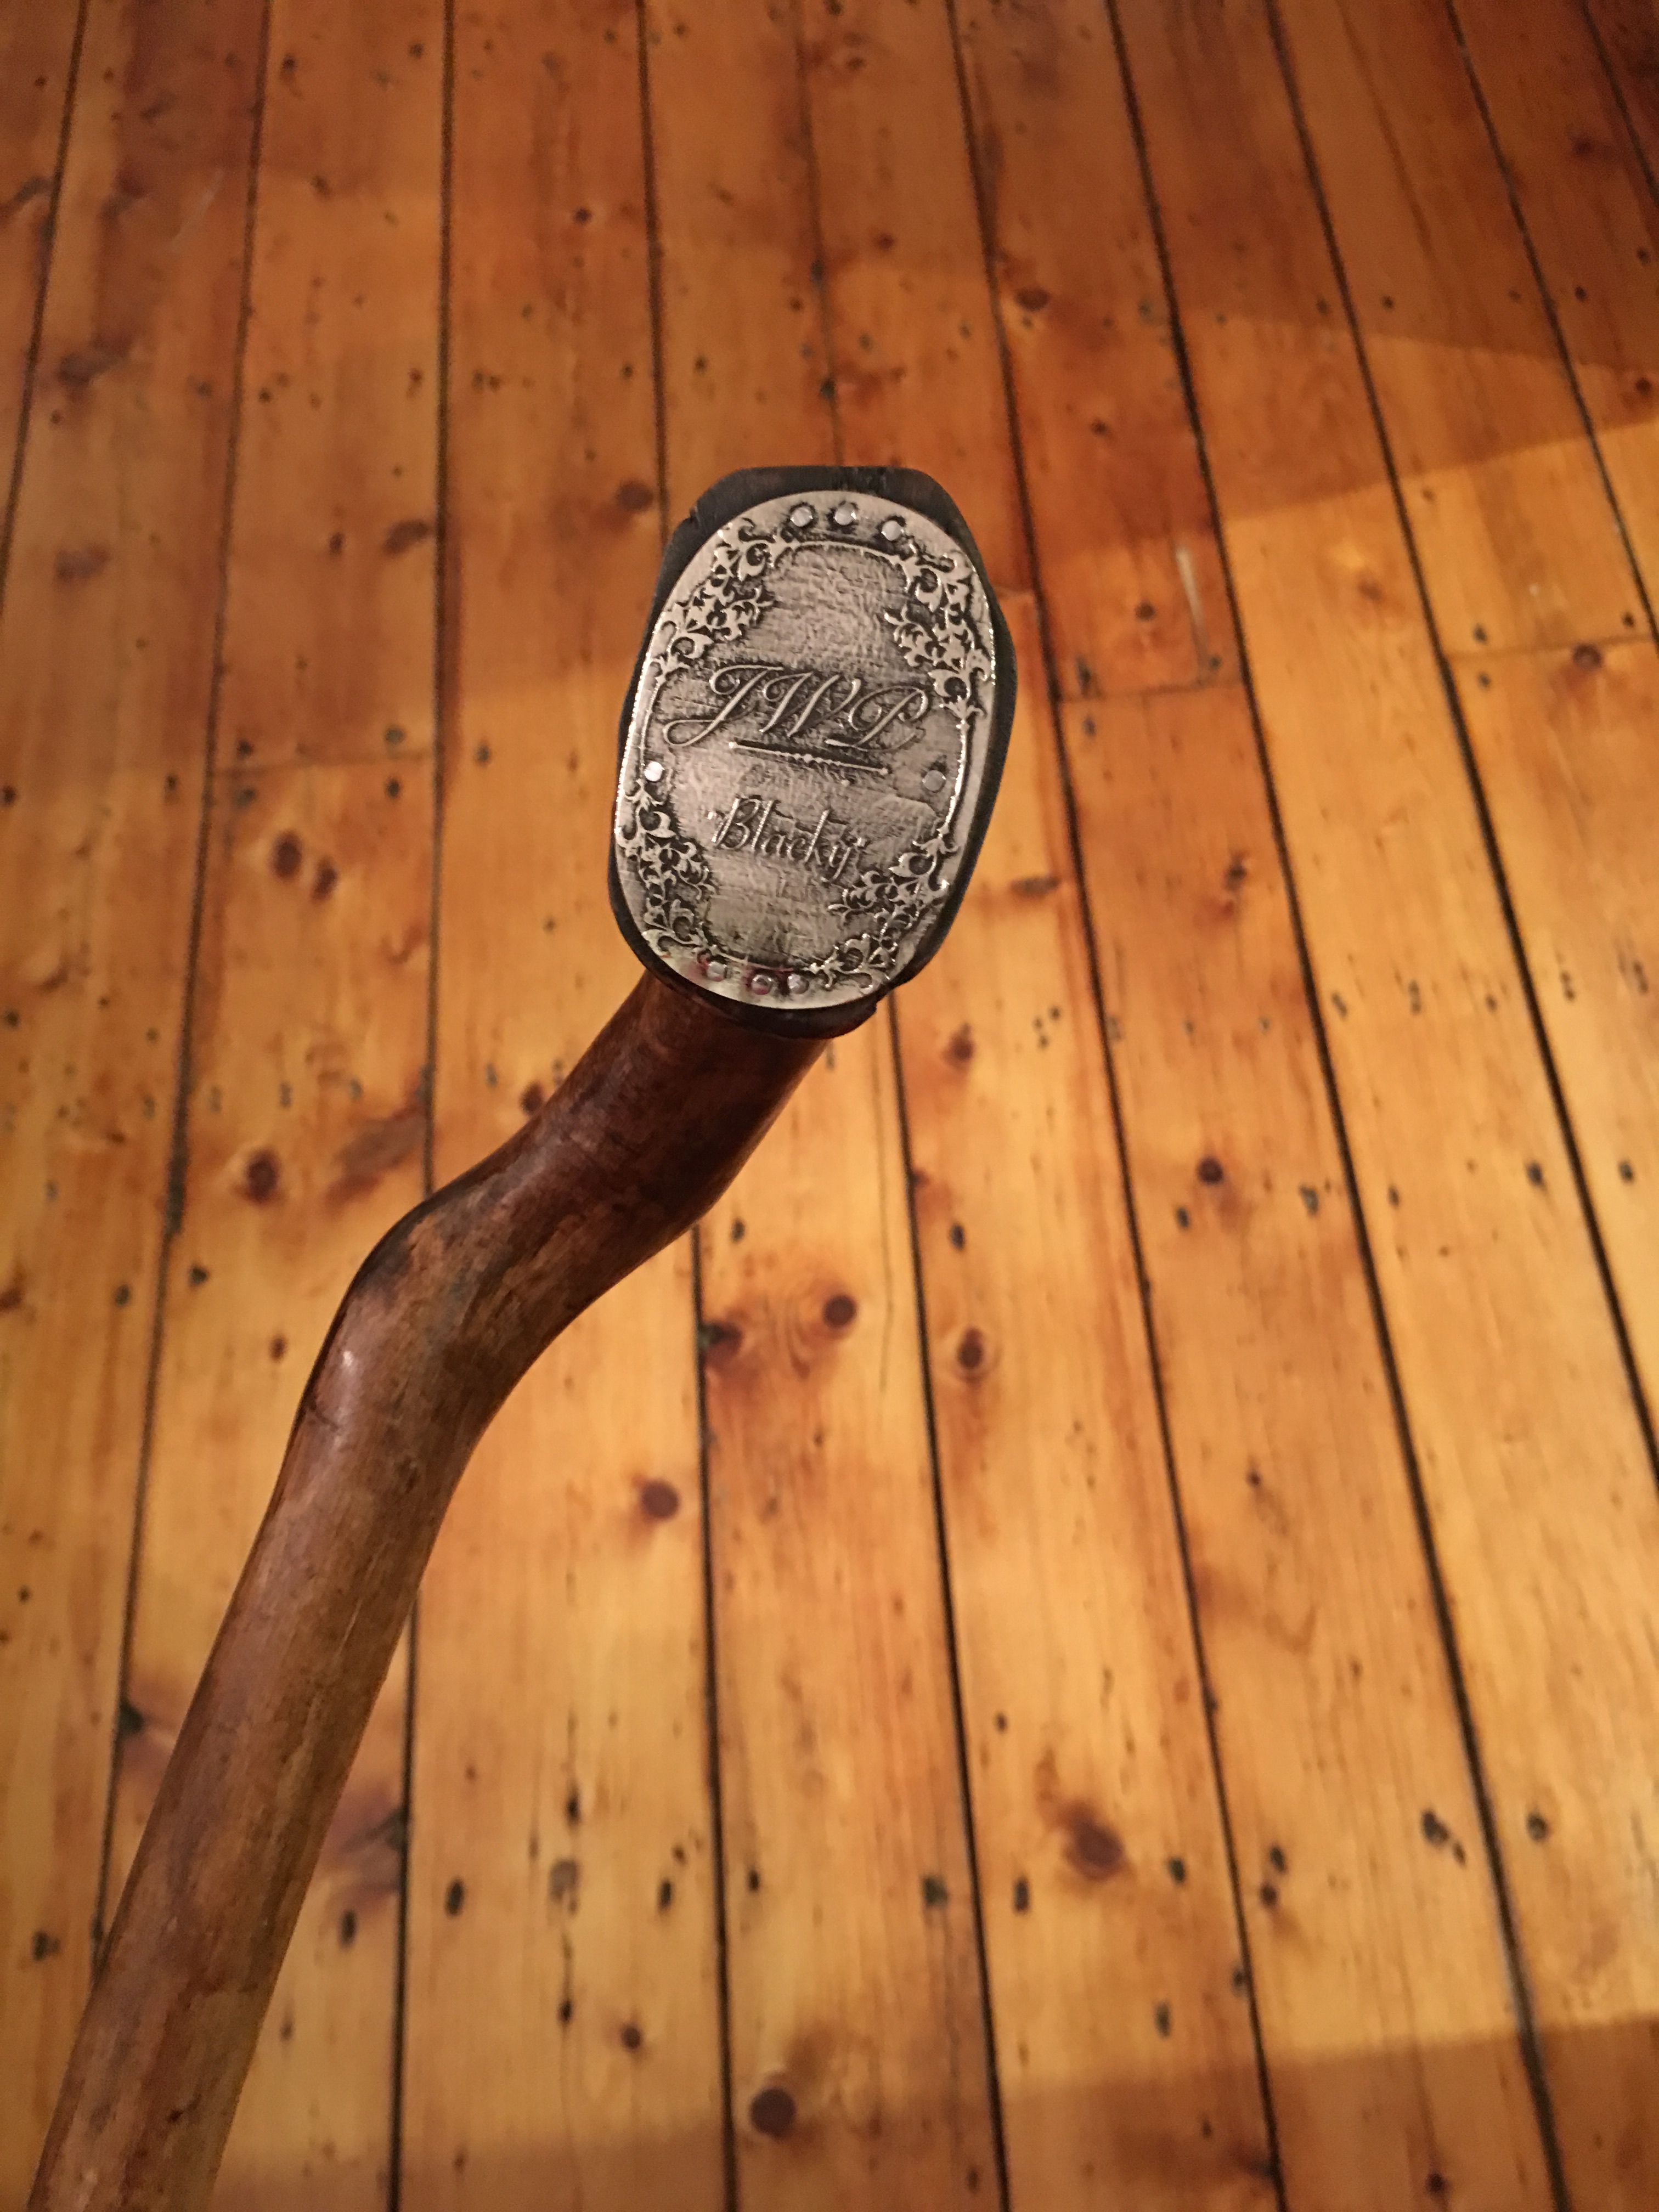
So I decided to try something that I have seen before.  A little while back I purchased this cool tool I came across on Etsy from Horseshoe Engravers.  The tool is called a Bezel Indexing Tool, in case you want to look it up.   So I decided to give it a try.

il_570xN.1597984331_2gv8


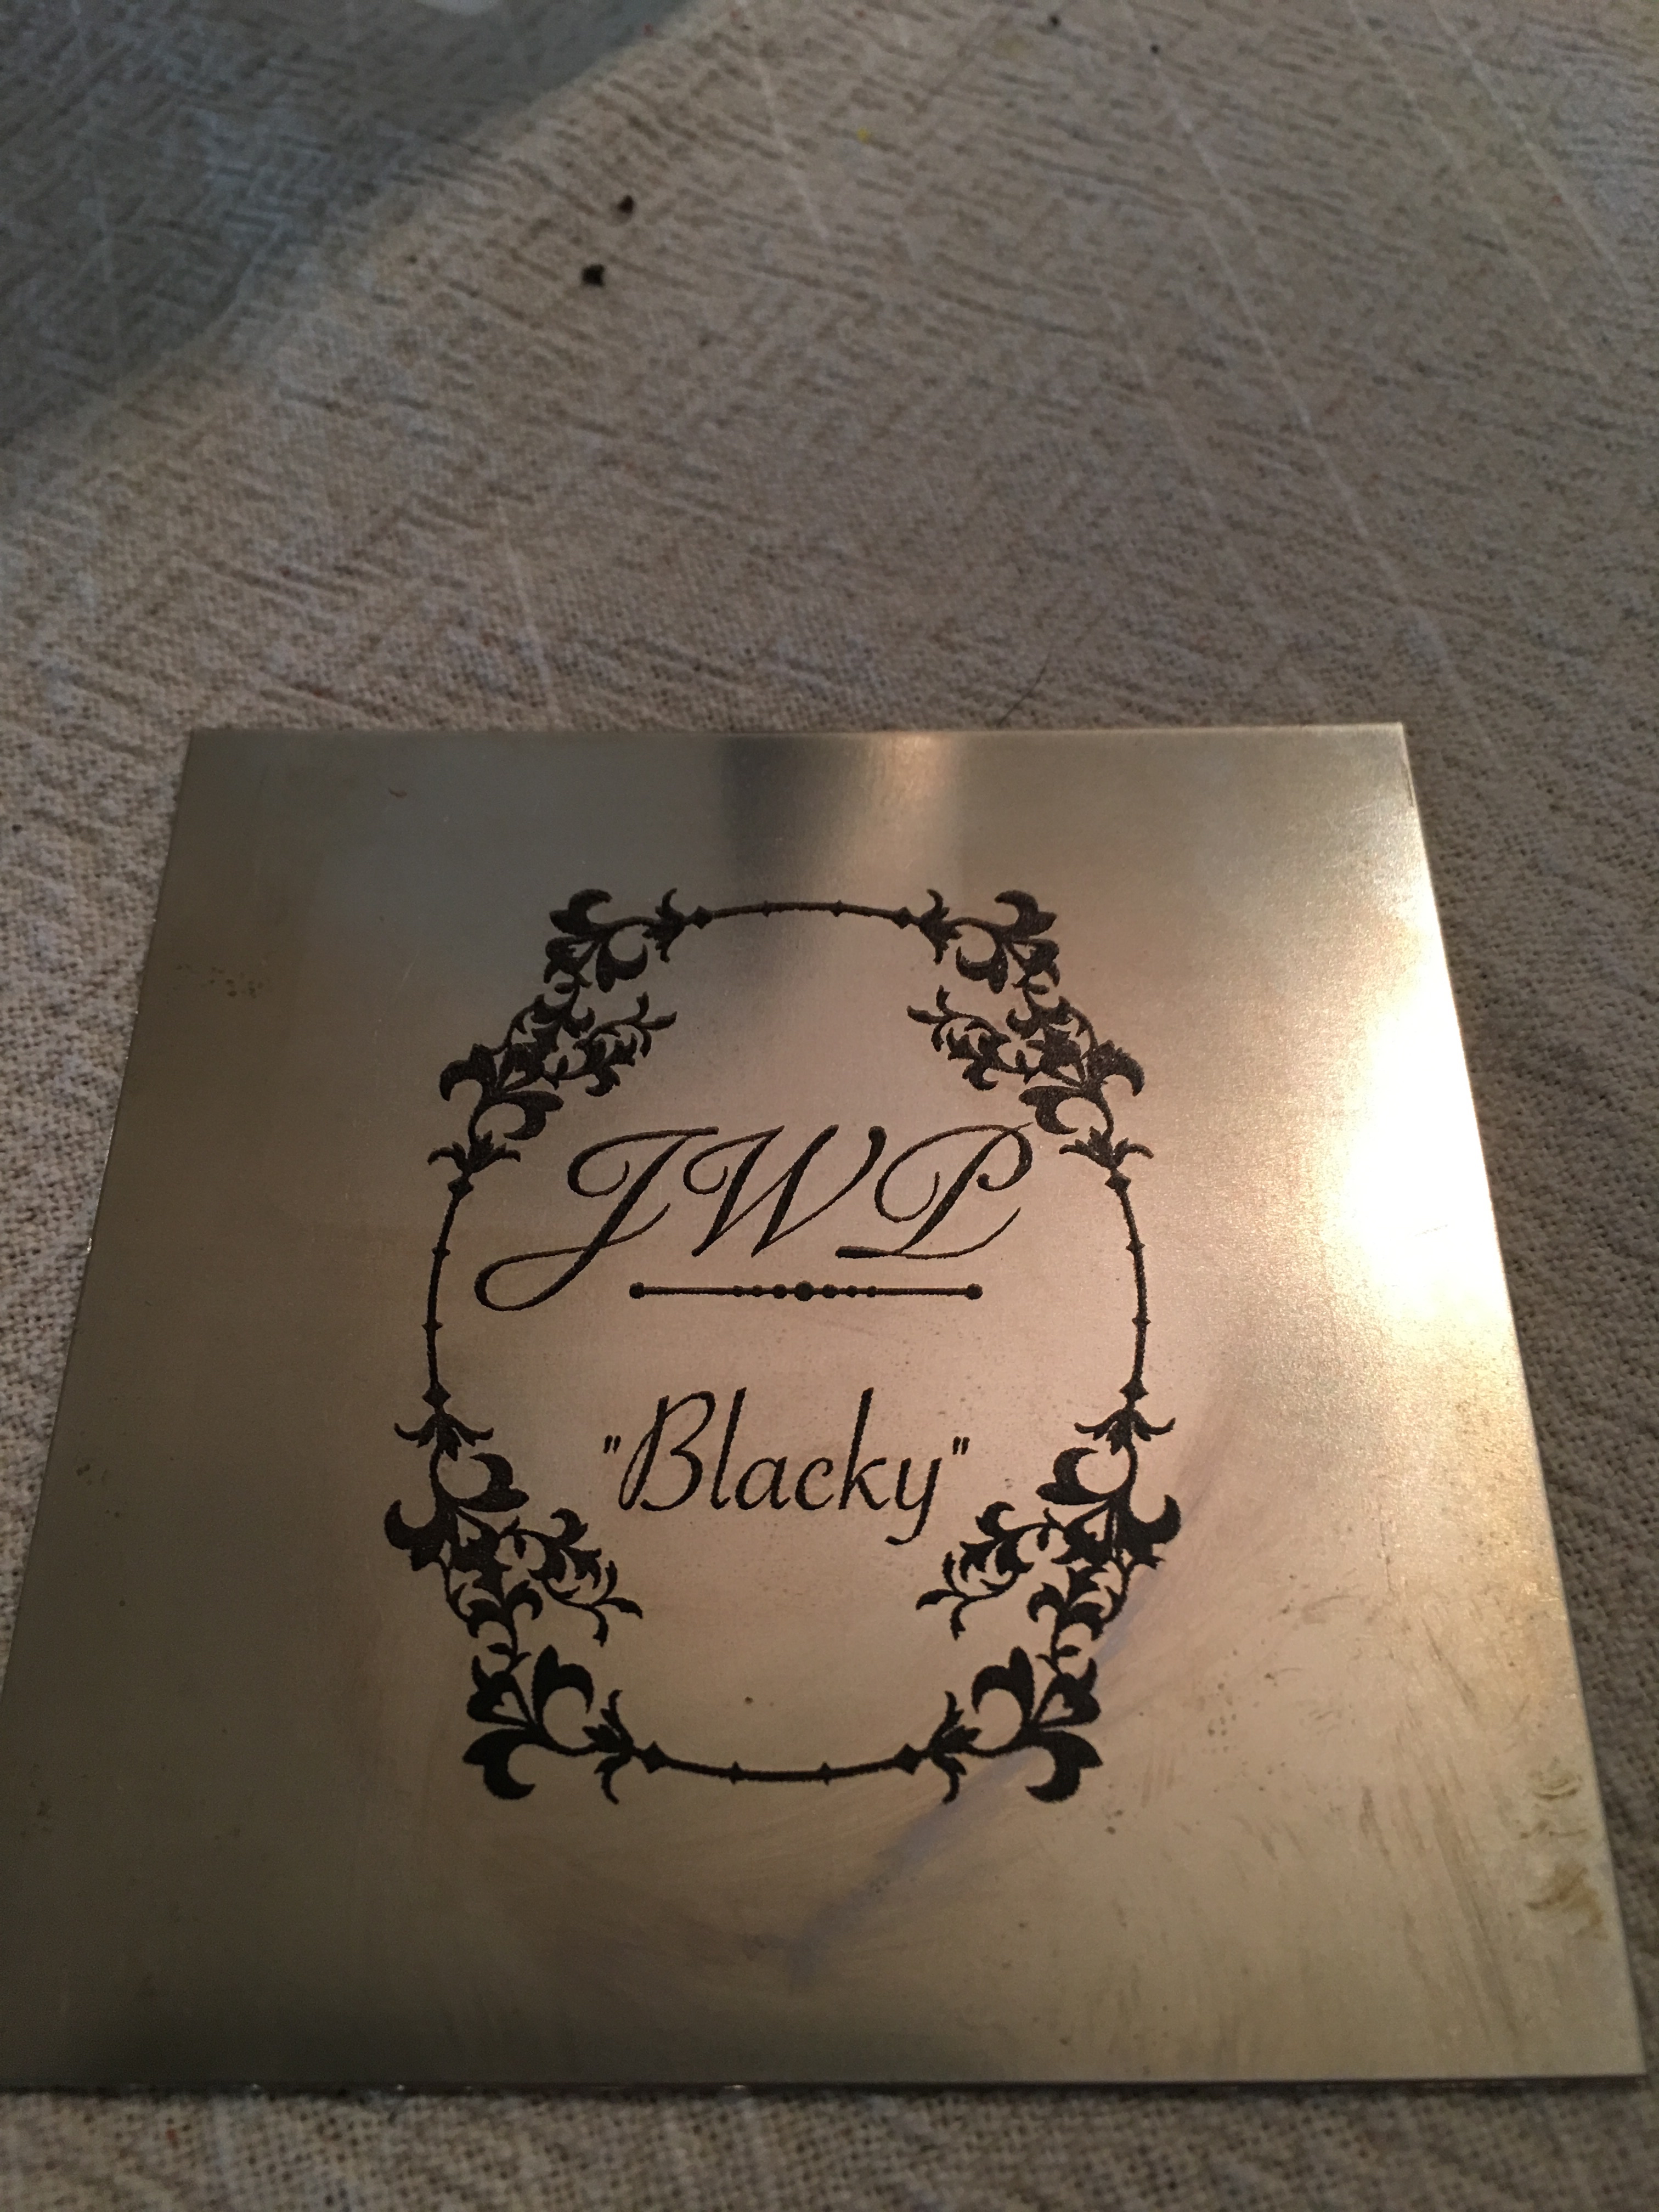
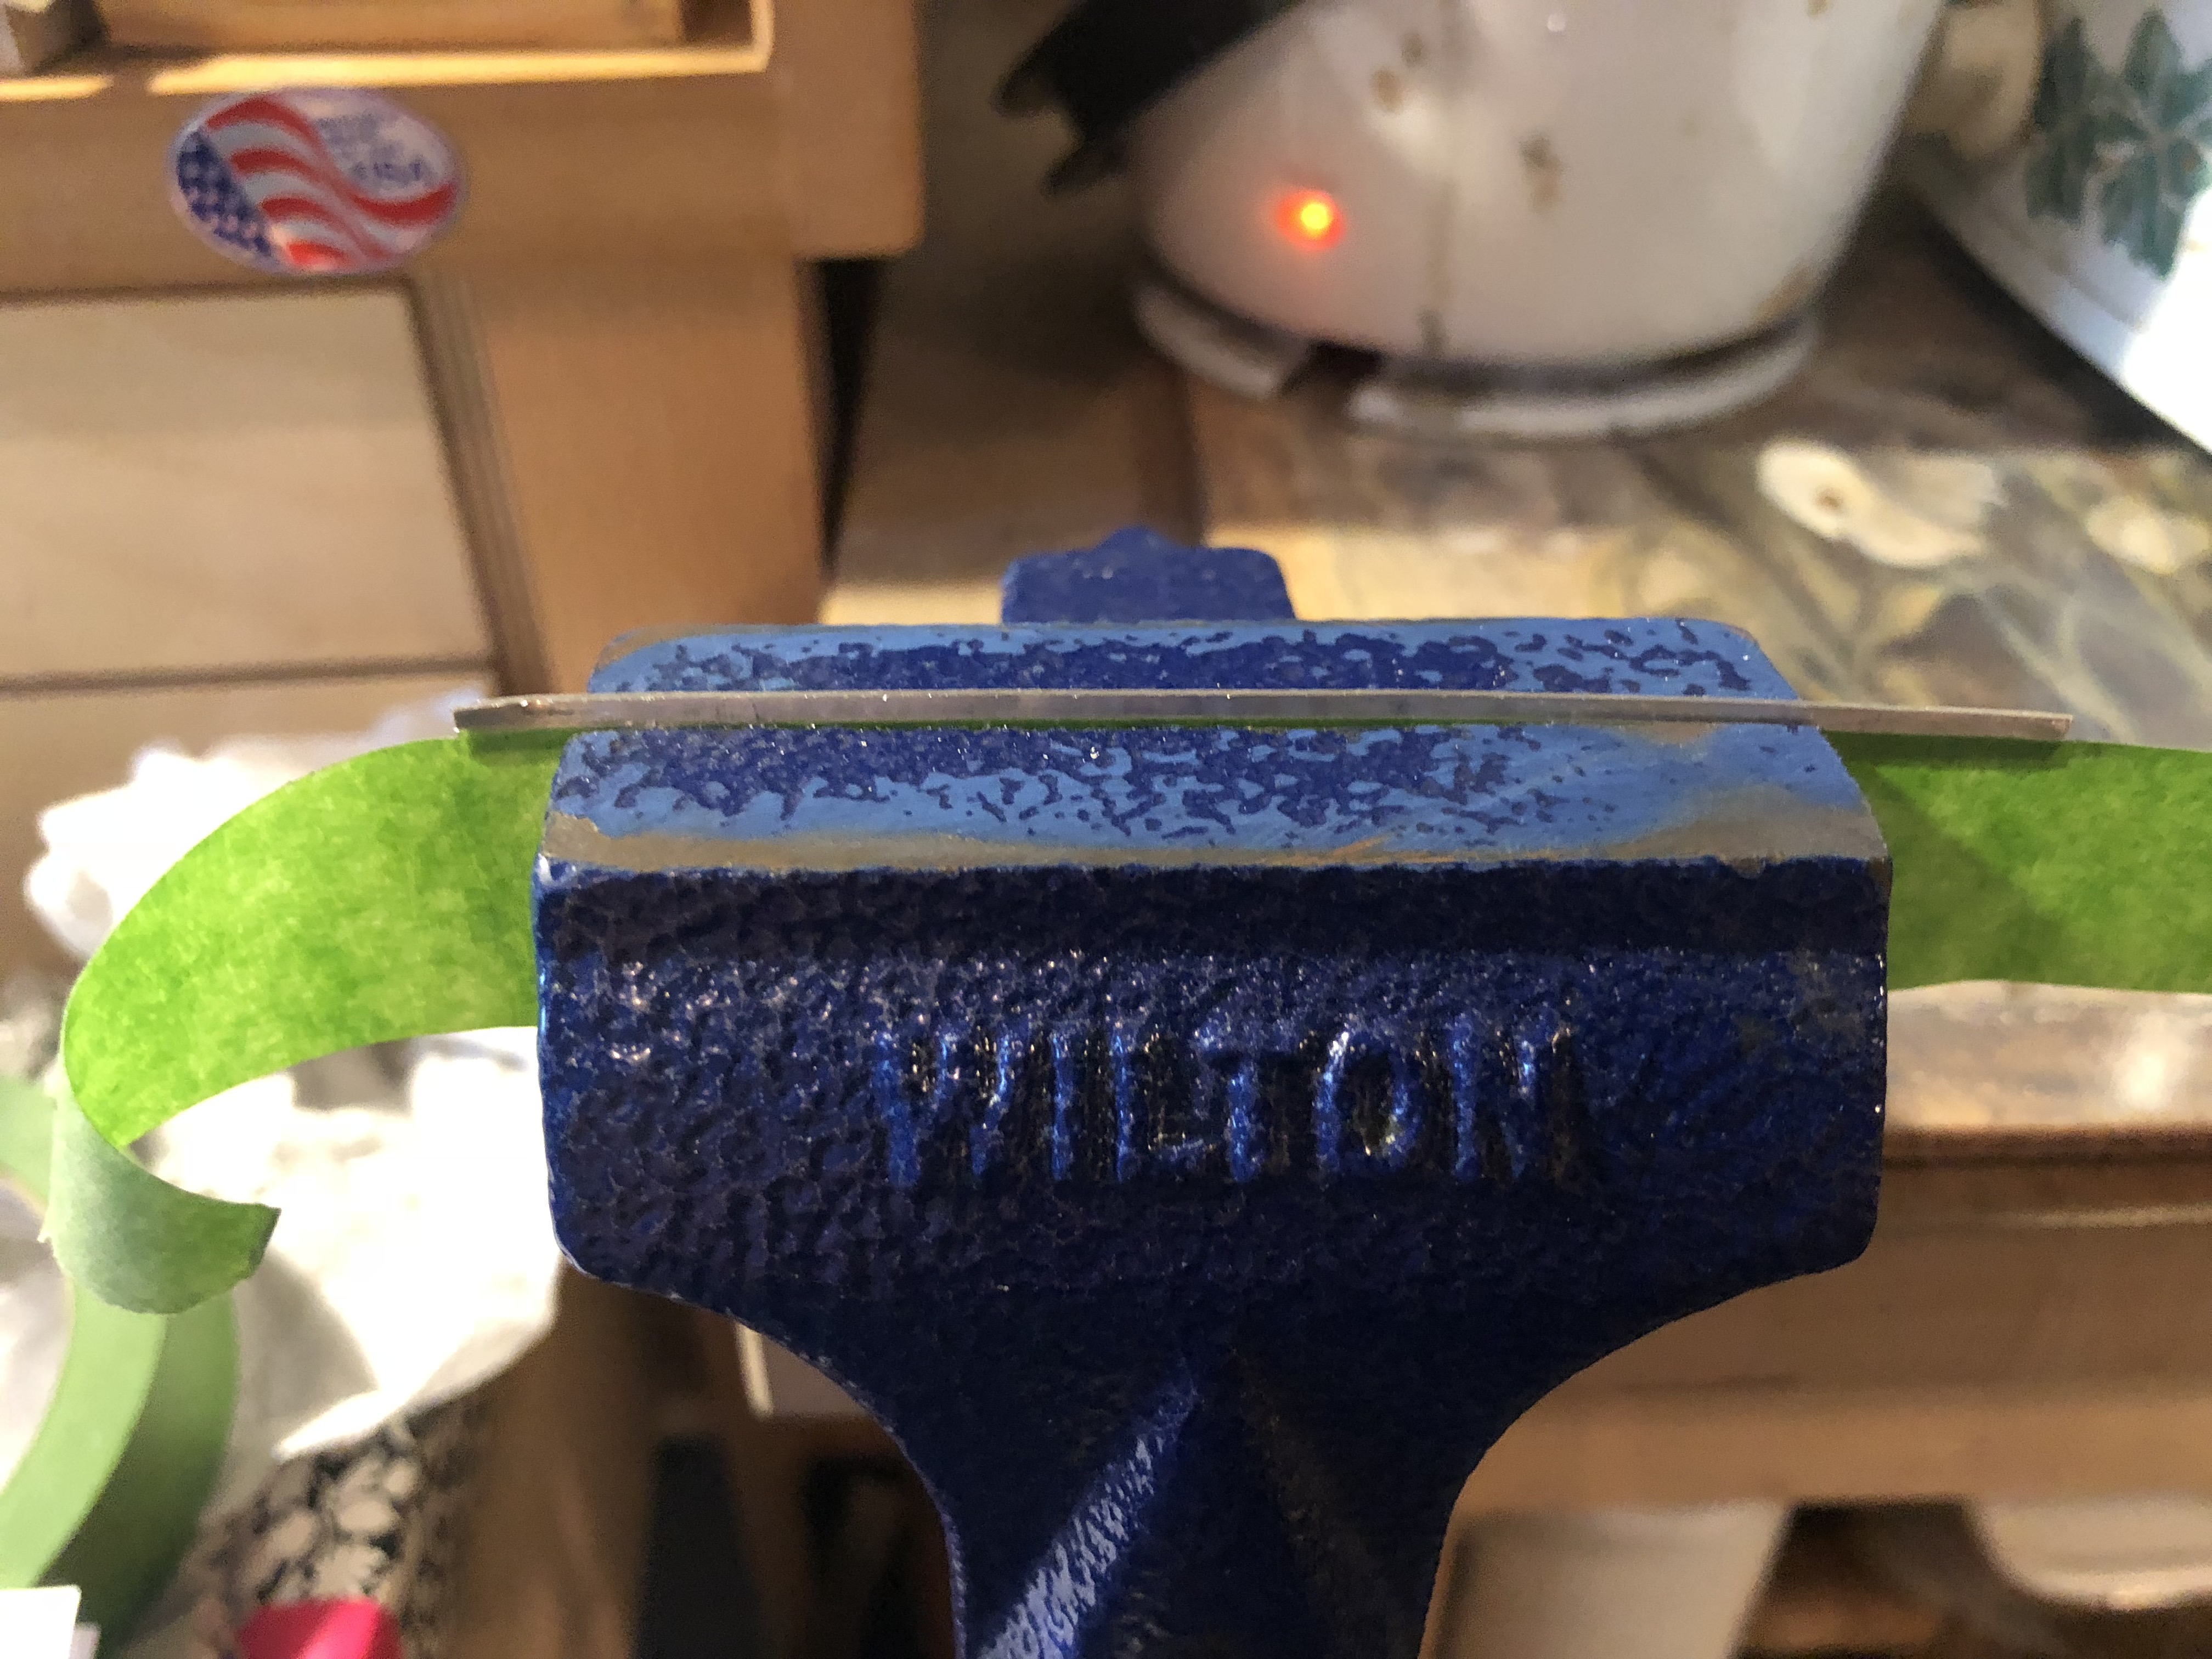
I took a sheet of 20g sterling silver and, using a pair of calipers, scribed a line based on the thickness of bezel wire I wanted (thickness meaning height).  I used my jeweler saw to saw it out.  Length is going to be dependent on the stone you use.

IMG_2301

I then decided how deep I want the teeth on my bezel wire to be.  Using masking tape I mask off where I want my saw marks to end, since I want them all to be even.  I place this strip in the vise up to the mask line and now I will be able to maintain evenness in depth of my saw marks.

IMG_2303


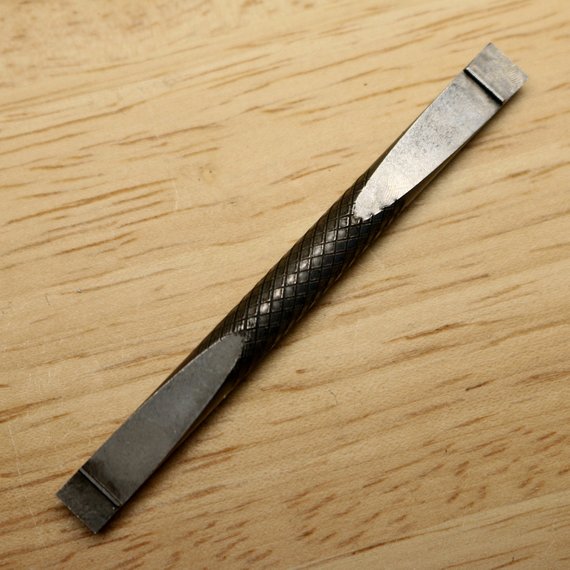
I make the first saw mark and then place the indexing tool in that first saw mark.  I then make my second cut at the end of the tool.  This tool creates a even space which is created by the spacing of the notch on the tool and the end of the indexer.  I hope this makes sense, see image.

IMG_2307

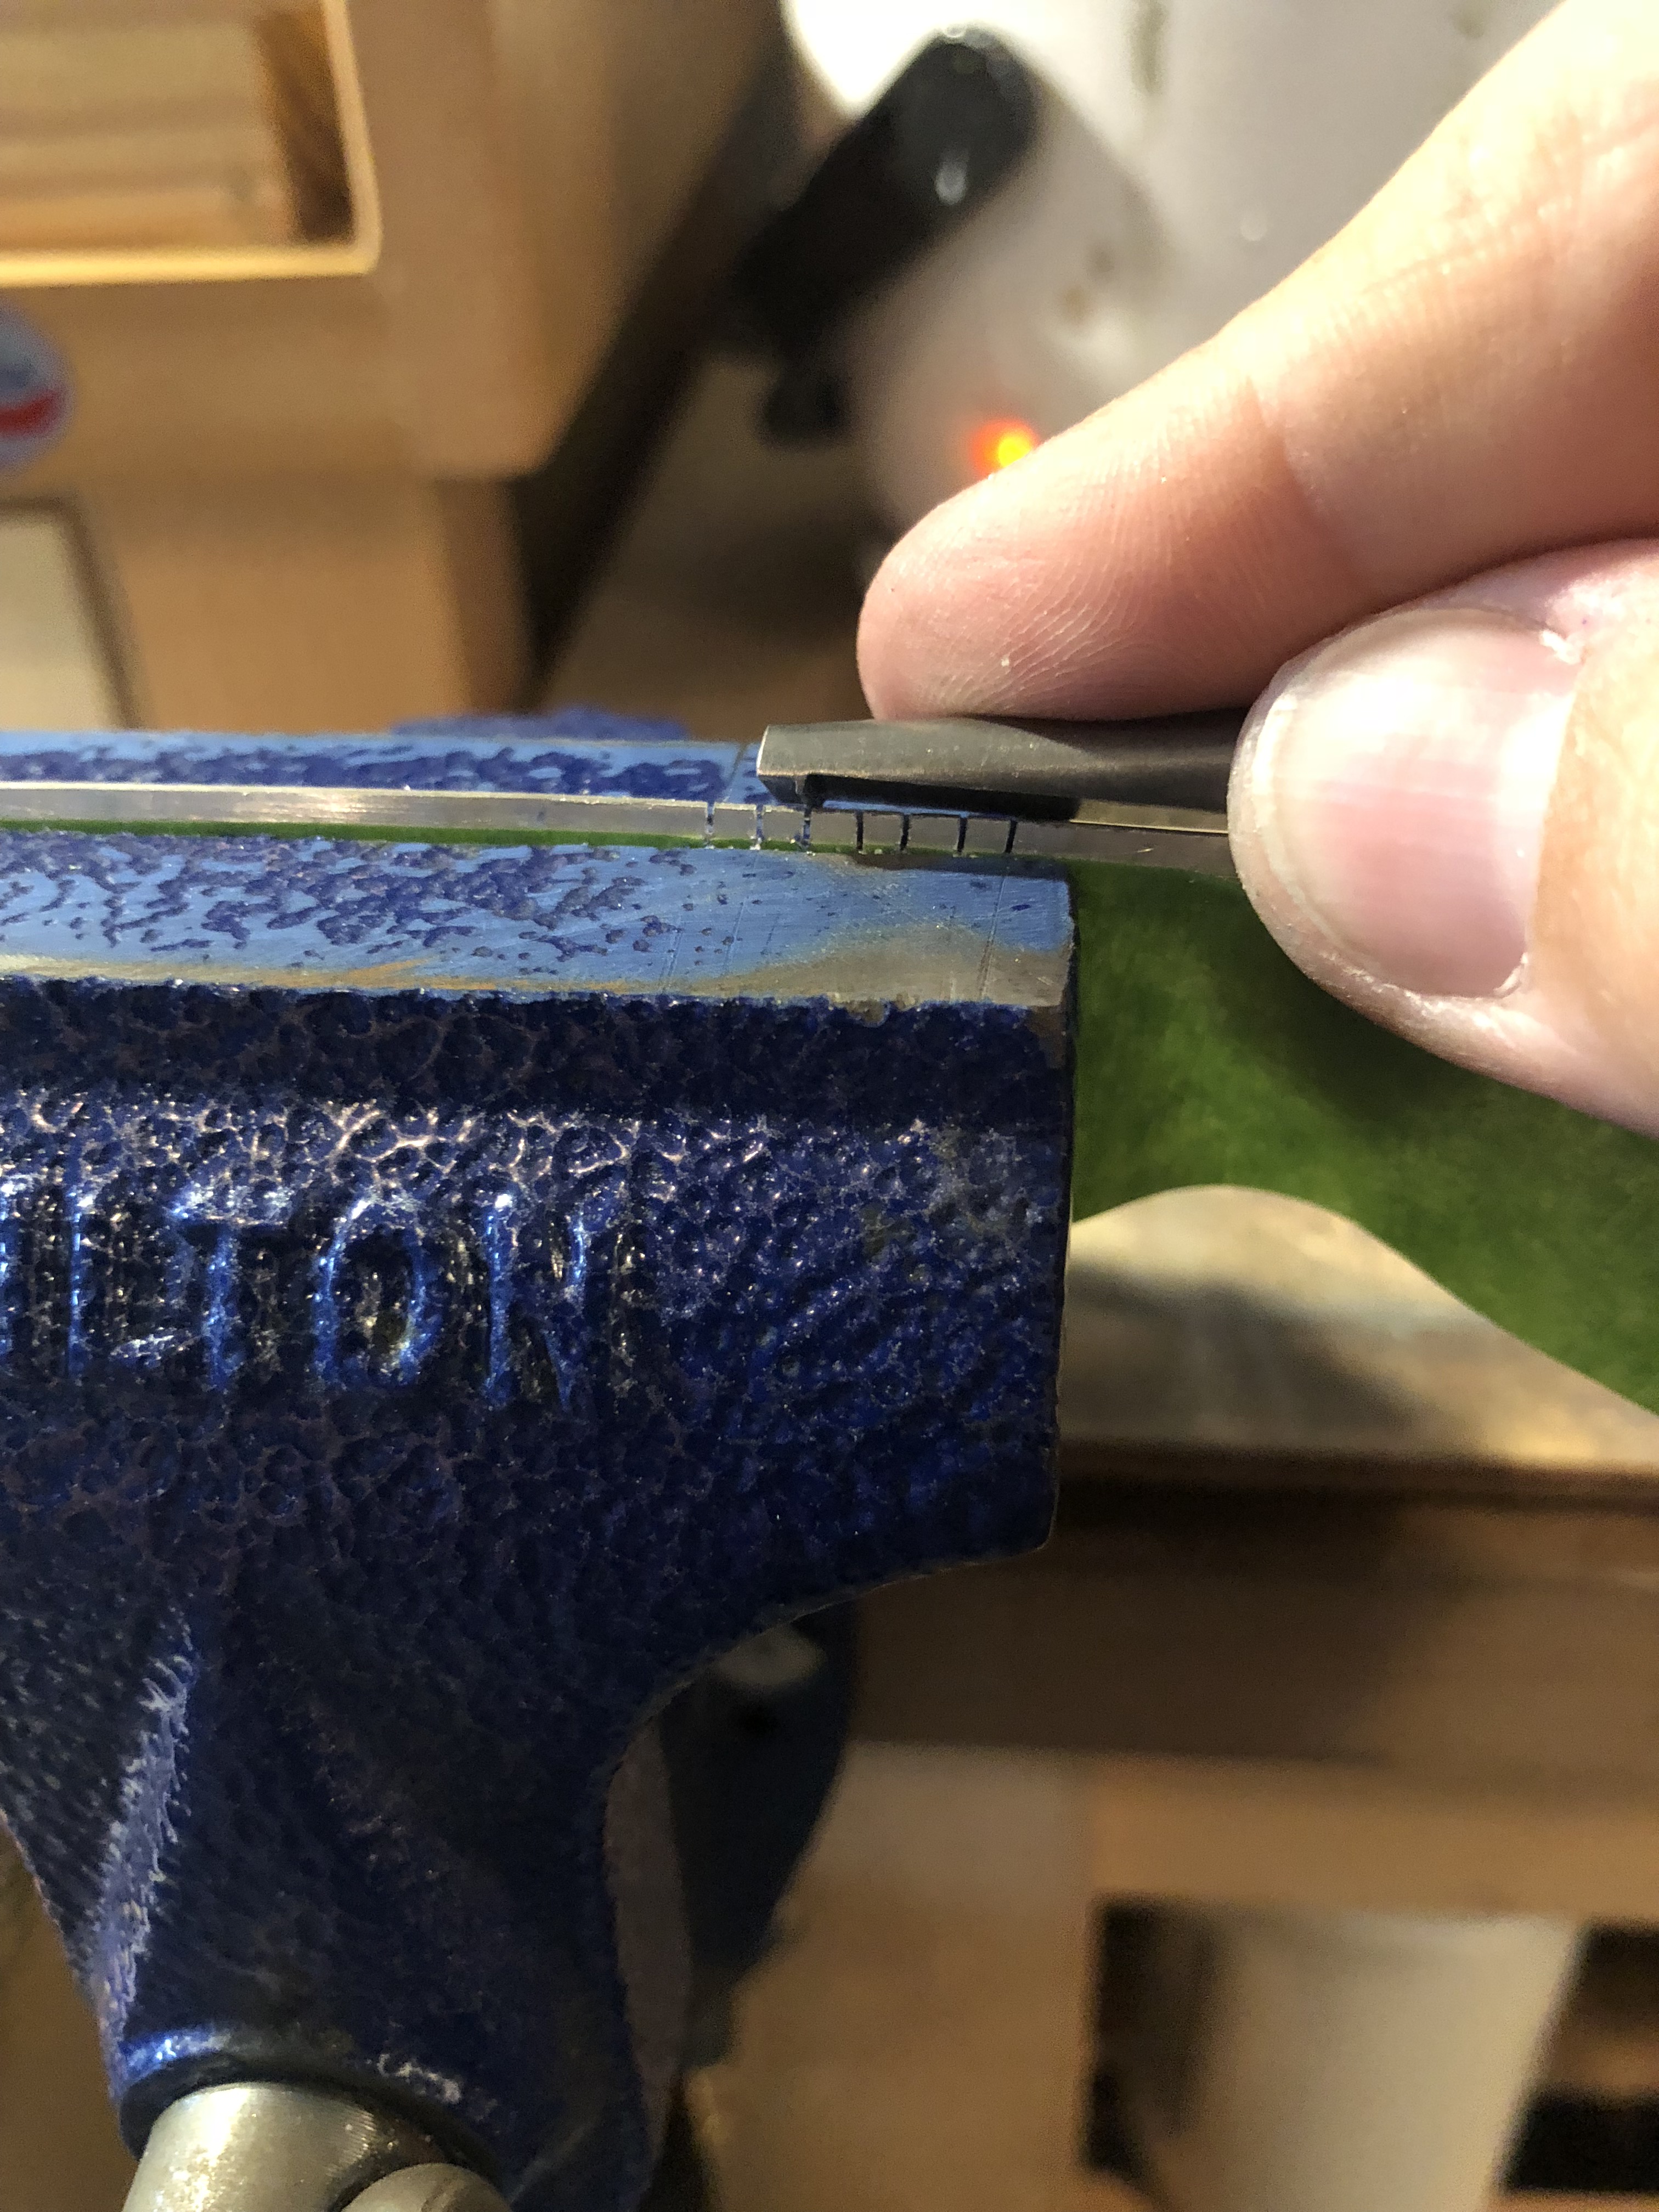
You keep moving along with the tool.  Saw mark, place notch in the saw mark, create another saw mark at the end of the tool.  Keep moving along the silver this way.

IMG_2313

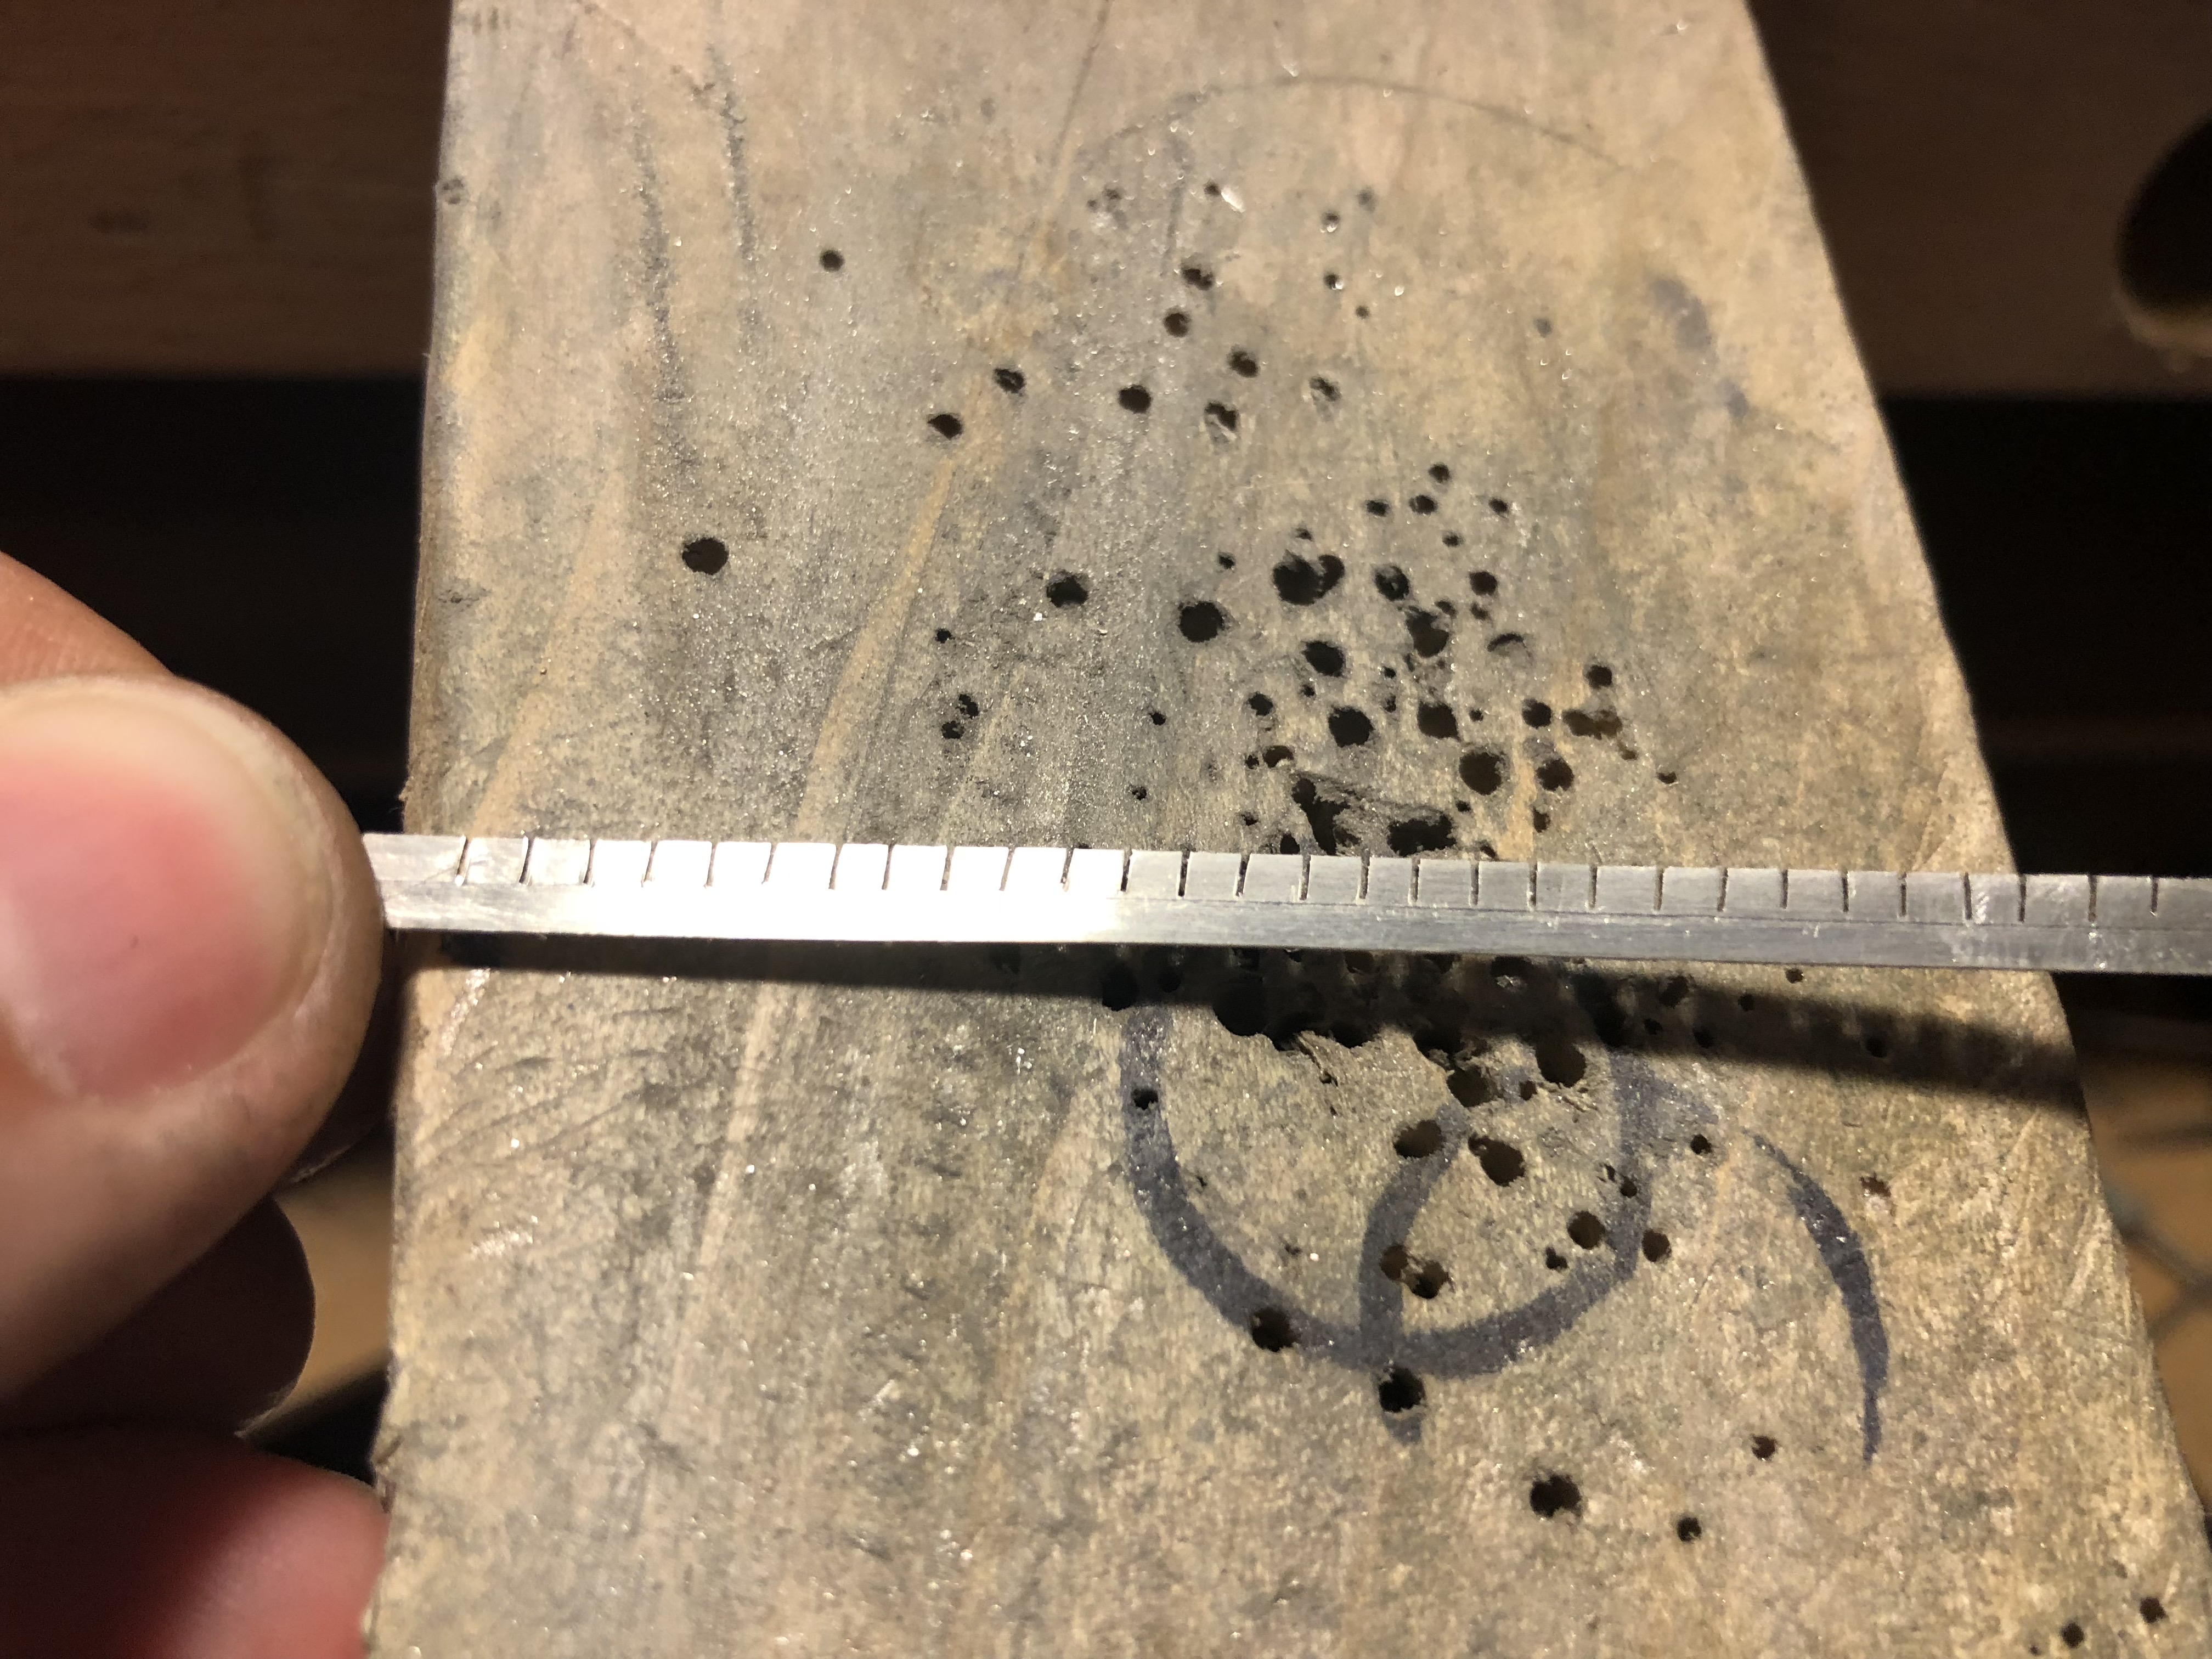
At this point I use a sanding disc on my dremel to make the saw lines more open and even.  I haven’t quite mastered making the saw marks straight yet, but I was able to correct this with the sanding discs.

Then I continue on forming the bezel around the stone, soldering to a back, and soldering on a ring shank.

Not too shabby for my first time.  I was pretty happy with the final product!

Sand Casting Sterling Silver

Ok everyone, this was my first attempt at sand casting in sterling silver.  It started off a little rocky.  The crucible that I was using was way too thick and the tip I was using on my smith mini torch was not throwing enough heat.  So with the helps of some friends from the Facebook metal smithing groups I found out that I needed to order what is called a Rose Bud tip for my torch and a thinner crucible would help.  Below is the thicker crucible and one type of sand flask that I had used to start with.  As you can see my sterling silver scrap would not melt down.  Also know, that in order for all of this to really work the crucible should be seasoned and you should add Borax to the silver as you try to melt it.  

IMG_4888


So out with the old and in with the new.  I bought a really nice set up from Craigs Casting on Etsy.  He has lots of great products to help you be successful at casting.  The setup that I purchased was a flask, easy pour system, borax (helps the silver melt better), and a few sand casting patterns.  Below you see my newer, thinner, crucible that has been pre-seasoned, my easy pour set up, and the newer sand casting flask with a side opening.

IMG_4962

A couple things I learned:

  1. Adjust the sand casting flask as close to the top of the easy pour as you can.  This will allow you to hold the crucible close to the cast in order to make a faster, more precise pour, before the silver starts to solidify.
  2. When you think the metal is molten, it’s not.  Continue to heat for another minute so be sure that the center of the molten metal is melted.
  3. Pour fast!  Matter of fact, don’t pour, dump fast!
  4. Add borax to the metal as you heat, this helps the melt process.
  5. Be sure to add enough of the steam of the sand casting pattern in order to get a nice clean replicate.  (see below)

The first image was my first attempt at pouring.  As you can see it solidified before I could pour it all into the cast.  The second image shows the pattern of the paw with a big clump of silver on the paw (attempt #5).  This is because I didn’t leave enough space between the pattern and the pour hole.  I will remelt this and try again, but as you can see I’m getting the hang of it.


Once I have a finished product I will post.  Sand casting is so much fun and really opens a lot of possibilities in your jewelry design.  Good luck!!

Custom Etched Nickel Cane Plate

Hi everyone, I know it’s been awhile since I have posted a project.  I am in the process of working on my first sand cast, so I will be documenting that and posting within the next week.

My boyfriends dad found a stick in the woods, one day, and thought it would make a great cane.  So he stripped the bark off of it, sanded it down, and sealed the wood.  I will admit, this is a pretty great cane, but he wanted to make it even more personal so he asked me to etch him a custom plate for it.  The process is below. :o)

The pattern was designed in my Cricut Software and printed onto thermal paper using a laser jet printer.  The Cricut software is very versatile and you can pretty much design whatever you want using it.  I love it!  I purchased a cheaper laser printer on eBay for printing onto thermal paper specifically for etching.  Once it was printed on the thermal paper (which is a yellow color) it was transferred to the metal using heat, whether iron, laminator, or t-shirt press, either one of these will work.

IMG_4433

The piece was then etched using Ferric chloride solution, pre-made.  Depending on the strength of your solution will determine how long it takes to etch.  Below is the final etch, which took about 2 hours with agitation but no heat.

IMG_4451


The last step was to shape the piece to fit the cane.  I decided to go with an oval shape rather then try and match the shape exactly.  The plate was polished before placing the plate on the cane.  The plate was attached to the cane by drilling tiny holes in the plate and cane and using tiny finishing nails to attach it to the wood.  I opted out of using something like Gorilla Glue.  I don’t like using glue if I can avoid it.  The finished product is below.

Needless to say he absolutely loved it!!

IMG_4696IMG_4699IMG_4703

Golf Tournament Champion Rings-Custom made :o)

So every year we participate in a fun golf tournament.  Usually 10-15 couples play golf followed by an awesome pot luck dinner with pulled pork and corn bread, just some of the awesome eats.  A friend of mine who started the tradition, his name is Tom Hope so naturally the golf tournament is called the Hopen hahahaha.  He asked if I would be willing to make two champion rings, his and hers, for the trophies this year. I was up for the challenge and this is what I came up with.  First time making this kind of ring and I have to say I really like it!!

Oh yeah, the ring is made of sterling silver, and the stone is Herkimer diamond cut by this awesome lapidary artist that  i work with.  Thanks Mike!!

IMG_7562 IMG_7551 IMG_7553 IMG_7559

Silver Silhouette Designs….coming to the Saratoga Holiday Sale in November :o)

This is a new series.  I started slowing down on the stone setting jewelry and am trying to focus more on just silver work.  Don’t get me wrong…I love the stones…but some people just appreciate the simple beauty of silver.  So I started creating these silhouette designs.  I have many many more designs coming such as elephants, different birds, ballerinas, clouds, dogs, cats, and even frogs.

How is it done you ask?  Well I take a design and saw it out of raw sheet metal using my jewelers saw.  This part takes quite a bit of time and patience.  That small cut out is then soldered onto another piece of raw silver.  I then saw off around that design to form a “shadow” background.  The piece is finished with a beautiful antique patina to give the piece some depth and dimension.  I hope these pieces are well received :o)

IMG_0821IMG_0817IMG_0819

HIVE Handcrafted Boutique

I am so excited to be announcing that my jewelry will be displayed at an awesome shop in Schoharie, NY called HIVE.  Thank you to the owner Theresa for taking the time to meet with me.  Her shop is amazing and it has such a great feel and a great vision.  If you are ever in the Upstate NY area and you are looking for a nice day trip that has beautiful sites, good food, and cute shops, check it ou!

http://www.hive321.com

My favorite piece to date

So, it turns out that this is my favorite piece to date.  It is called Sun, Moon, and Stars.  This piece is made with a carnelian as the sun, moonstone as the moon, and a blue goldstone for the sparkly stars.  I embossed a pattern on the back, giving it more of an India feel to it but I think it goes great with the color combination.  The chain is pewter and the accented leaves are sterling silver.

The sun happens to be a very powerful symbol in its own right, perhaps one of the greatest symbols of all. After all, our world is dependent on the sun to keep our atmosphere livable. Without it, permanent winter and darkness would descend, and it wouldn’t take very long for every living thing on Earth to perish.  This astrological body is feminine in energy. It is considered a symbol of the feeling side of human nature. As a deity, moon worship is even older than sun worship.  Stars have never truly been considered deities, but they still hold certain meanings, depending on the number of points they have. In general, stars are viewed as embodiments of divine power, lighting the way in the darkness. They can be considered symbols of goodness and truth.

Enjoy!

IMG_0675 IMG_0672 IMG_0671IMG_0674